midi@3:14, home-made MIDI keyboard
Guillaume SavatonThis post is the first of a series about « midi@3:14 », my home-made MIDI keyboard. In the following sections, you will read about the hardware design and assembly. The next posts will be dedicated to the firmware and companion software.
What is it?
midi@3:14 is a home-made electronic keyboard prototype for playing music. It has been designed with the following requirements:
- Small size, light weight.
- Uniform layout (see the Jankó and the Harmonic table layouts for references).
- Compatible with any computer hardware (PC, Raspberry Pi, …) and free software synthesizers.
As a result, midi@3:14 has the following characteristics:
- Jankó layout with 3 rows of 14 keys.
- 5 potentiometers that can be used to change the volume, or any other control value supported by the MIDI standard.
- A USB-MIDI interface.
The figure below shows the default key assignment. The orange « Fn » key is intended to be used in combination with the other keys to activate alternate functions such as choosing an instrument or changing the base pitch (more on that in the next posts).

The name « midi@3:14 » refers to the MIDI interface and the 3×14 layout. There is no specific intention behind this name, but if you like fun facts, I can come up with at least two explanations:
- « midi@3:14 » is a pun on the French expression « Chercher midi à quatorze heures », which translates to « To seek noon at 2pm », and usually means « To complicate things needlessly ». As you will see in the following sections, midi@3:14 is not particularly complicated actually.
- The numbers 3 and 14 are related to a bigger plan to create a complete synthesizer using this keyboard and a Raspberry Pi computer.
Electronic design
The keyboard is designed as a switch matrix using the same techniques as a typical mechanical computer keyboard. The main components are:
- 42 switches from the Cherry MX family,
- 42 diodes to prevent the « ghosting » effect when playing chords,
- 5 potentiometers,
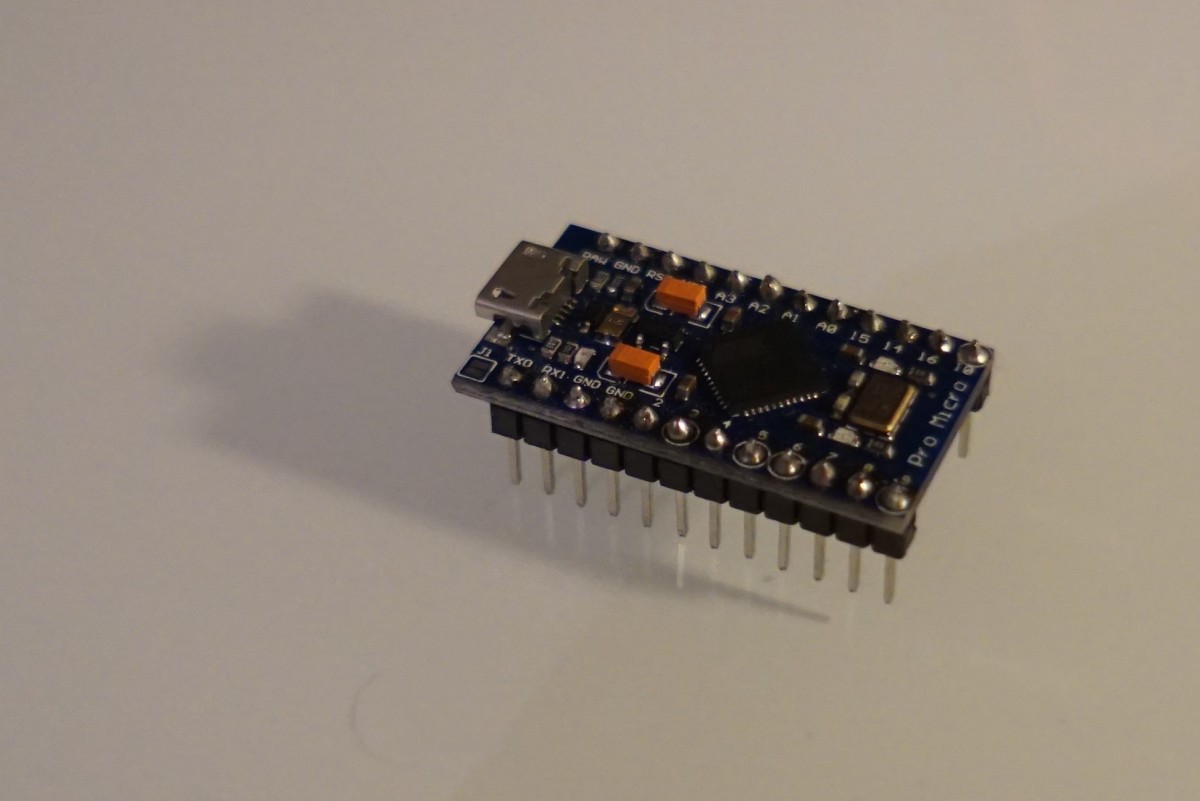
- A microcontroller module, the Arduino-compatible SparkFun Pro Micro,
- A custom printed circuit board (PCB).
For more explanations about making a matrix keyboard, see the blog post How to make a keyboard - The matrix by Michał Trybus.
The following sections provide details about the PCB design using
the free software suite KiCad version 5.
The source files are available in the hardware folder of the
midi314 repository at GitHub.
Schematic capture
Designing a 3×14 switch matrix is not a big challenge, but before drawing the schematic, let’s think about how the microcontroller module will drive the rows and columns.
The Pro Micro has 18 I/O pins, of which 9 are digital only, 4 are analog only, and 5 can be either digital or analog. A naive switch matrix layout would use one pin per row and one pin per column. For a 3×14 keyboard, this would require 17 digital pins, i.e. more than what the Pro Micro provides.

However, there is no obligation for the electrical wiring to mimic the actual spatial key layout. In midi@3:14, a better solution was to design the circuit as if the keyboard had 6 rows and 7 columns. This solution uses 13 digital pins, leaving 5 pins available as analog inputs. As can be seen in the schematic below, the keyboard is logically split into two parts: the left part is assigned to rows 1 to 3 of the switch matrix, and the right part is assigned to rows 4 to 6.

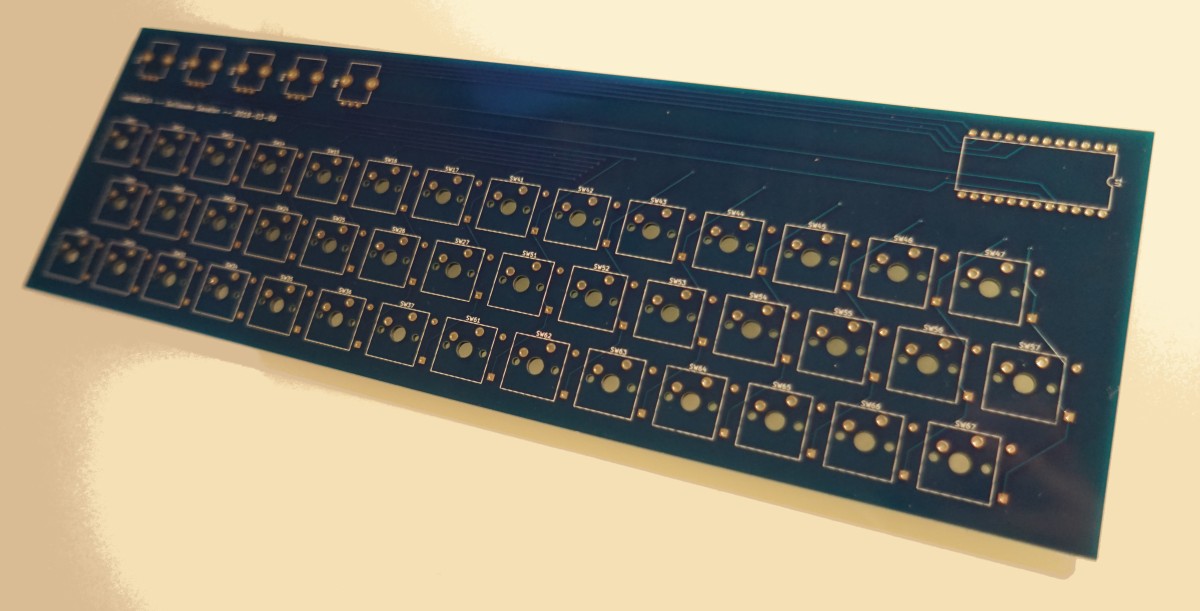
PCB layout
The PCB layout measures about 28.7 cm by 9.1 cm. It uses two copper layers. The switches, potentiometers, and the Pro Micro module are placed on the top layer; the diodes are placed on the bottom layer.
The following footprints are used:
- Potentiometers: Bourns PTV09A, vertical.
- Switches: Cherry MX 1u, PCB-mounted.
- Diodes: DO-35, horizontal, through-hole, 10.16 mm.
- Pro Micro: DIP-24, width 15.24 mm.

As you can see, in the figure above, I forgot to draw mounting holes on the PCB, so I had to drill them by myself after receiving the board from the manufacturer.
Board manufacturing, soldering and assembly
The PCB was manufactured by a Chinese company called Elecrow. I found that their offer was very affordable and the result met my expectations. I even received five boards while I was only expecting one!
The only issue was that the combined shipping and customs fees turned out to be more expensive than the PCBs themselves, but this is clearly not Elecrow’s fault.
Now let’s have a look at the components. This is the Arduino-compatible Pro Micro module from SparkFun:
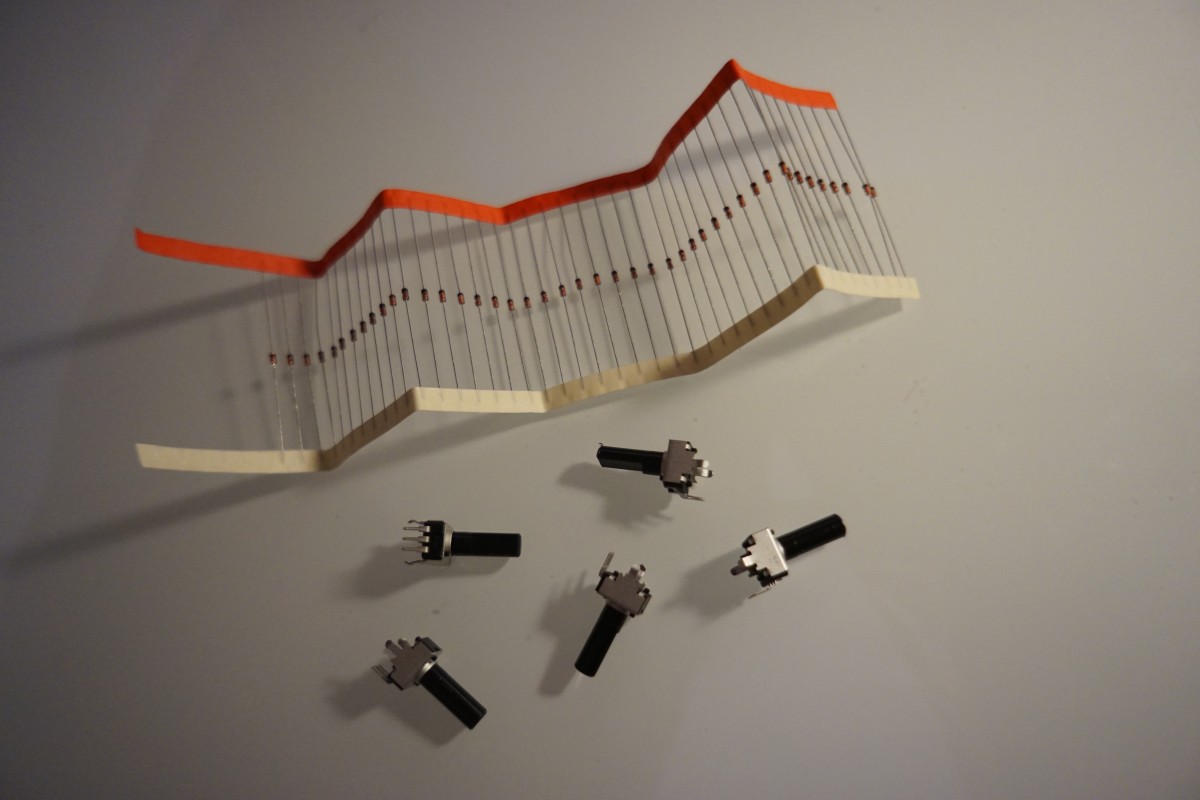
Diodes and potentiometers, ordered from Farnell:
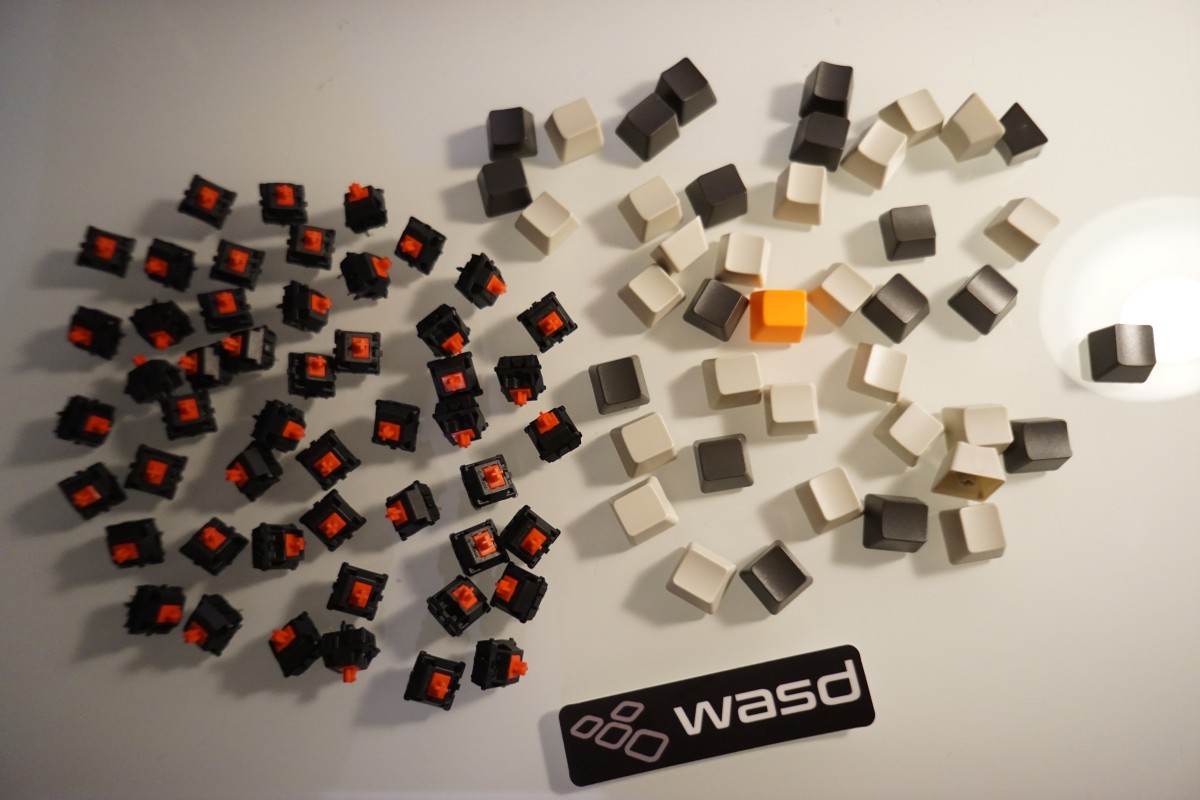
Cherry MX « Red » switches and keycaps, from WASD Keyboards. The « red » flavor is advertised as « ideal for action gamers ». I chose them because they have low spring force and no audible click.
And here is the completed keyboard, mounted on a laser-cut orange plexiglas plate matching the orange key and the blue color of the board. It is now ready to be programmed and used.

Bill of materials and cost
Here is the list of parts used in this project, and the additional costs. I have kept the prices in the currencies that were used when ordering (US dollars and Euros). Note that these prices were applicable in March 2018. They are likely to have changed since.
The first line shows that 50 key switches were ordered from WASD while only 42 were needed. In fact, their unit price was lower when ordering 50 and it turned out to be cheaper.
| Description | Reference | Provider | Qty | Unit price | Total price |
|---|---|---|---|---|---|
| Cherry MX Red Keyswitch (Linear) PCB Mounted | MX1A-L1NW | WASD | 50 | $0.75 | $37.50 |
| Row 4, Size 1x1 Cherry MX Keycap, Beige | R4-1X1 | WASD | 23 | $1.00 | $23.00 |
| Row 4, Size 1x1 Cherry MX Keycap, Charcoal | R4-1X1 | WASD | 18 | $1.00 | $18.00 |
| Row 4, Size 1x1 Cherry MX Keycap, Orange | R4-1X1 | WASD | 1 | $1.00 | $1.00 |
| Keyboard parts, shipping to France | USPS | 1 | $23.50 | $23.50 | |
| Printed Circuit Board | Elecrow | 1 | $30.47 | $30.47 | |
| Printed Circuit Board, shipping to France | DHL | 1 | $20.03 | $20.03 | |
| Printed Circuit Board, customs | DHL | 1 | 23.00 € | 23.00 € | |
| Potentiometer, Bourns PTV09A series, 10 kOhm | PTV09A-4225F-B103 | Farnell | 5 | 0.97 € | 4.85 € |
| Diodes | 1N4148 | Farnell | 50 | 0.682 € | 3.41 € |
| Components, shipping | 1 | 6.90 € | 6.90 € | ||
| Components, VAT | 1 | 3.44 € | 3.44 € | ||
| Leonardo Pro Micro ATmega32U4 | Chip and love | 1 | 13.00 € | 13.00 € | |
| Noise dampeners for Cherry MX switches | IT-Services irro via Amazon | 120 | 7.99 € | ||
| Potentiometer knobs | Electronic Loisirs | 5 | ? | ? |
Known issues
If you plan to build your own keyboard using the sources of this project, there are a few issues that are worth fixing.
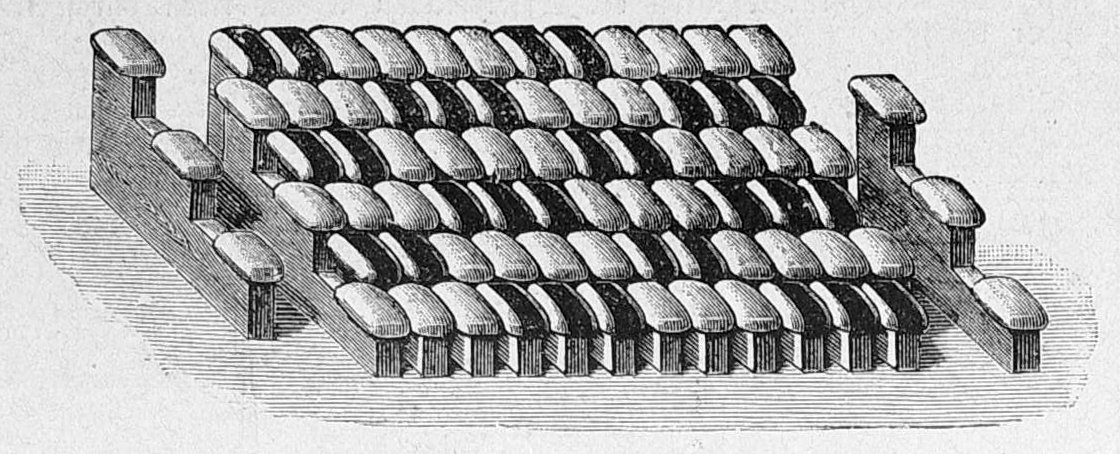
The main problem is that a flat keyboard is not very ergonomic. In fact, playing music is not the same as typing on a computer keyboard: on a piano, your thumbs can reach all keys easily; on midi@3:14, the middle row is not very comfortable to use with the thumbs while the other fingers are playing on the back row. This is probably the reason why Jankó keyboards usually have a stair-like arrangement (illustration below, Die Gartenlaube 1887, public domain).
Finally, I think that the potentiometers should have been placed differently: they should have more space between them, and they should be rotated by 180°. The Bourns PTV09A has a D-shaped shaft whose flat side is oriented south on midi@3:14. I could not find knobs with a D-shaped hole that had the proper orientation. The knobs that I chose have a round hole and do not fit very well.
Conclusion
For someone with a background in electronics, the hardware part of this project is not very challenging, but I found it fun to design and to make. It was my first attempt at designing a PCB using free software, and while the user interface of the KiCad suite is sometimes inconsistent, it proved to be reasonably easy and effective to use.
Now, obviously, this keyboard is useless without the proper embedded software. The next post will demonstrate that midi@3:14 performs great when programmed as a MIDI keyboard.
References
- altKeyboards: a site about alternate musical instruments with a focus on keyboards.
- The web site of the KiCad tool suite.
- How to make a keyboard - The matrix, by Michał Trybus.
- midi@3:14 source code repository at GitHub.